Week 6
May 11, 2018
This week we focused on completing the following tasks:


Figure 6: XTC-3D Coating


This week we focused on completing the following tasks:
- printing the pieces for house
- finish adding magnets to 10x10x10 cm cube
- applying primer and painting the 10x10x10 cm cube
- finish creating bus/plane/watermelon models

Figure 1: The First Five Pieces for our Second PuzNetix set, the House.

Figure 2: Partially Assembled PuzNetix House Set
The 10x10x10 cm cube set is completely printed for the exception of one piece that needs to be reprinted. The majority of the magnets have been inserted, and below you can view the assembled, and party assembled cube.


Figures 3 & 4: Top view of the magnets for the first PuzNetix set, the cube
This week the CAD model of the bus puzzle was completed, shown in figure 5. It has 12 unique pieces and fills a 20 cm x 8 cm x 6 cm space. The bus has wheels which should lift and carry the body off the ground. To compensate for this weight we added many magnet holes to make the bus more sturdy.
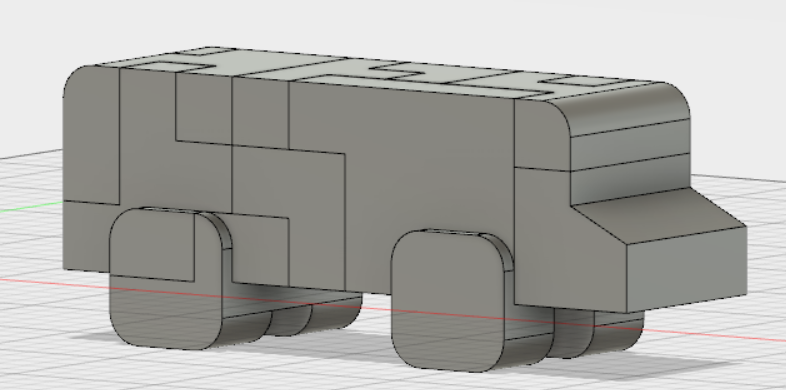
Figure 5: Finished PuzNetx Bus Model
The link below shows Saro's final model of the 20 x 8 x 6 cm bus.
Once we finish printing the puzzle pieces, we will coat the outer faces in a protective smooth coating called XTC-3D (seen below.) This gives each piece a shiny look, and makes it easier to prime and eventually paint later on. A piece of the cube with coating is displayed below as well.
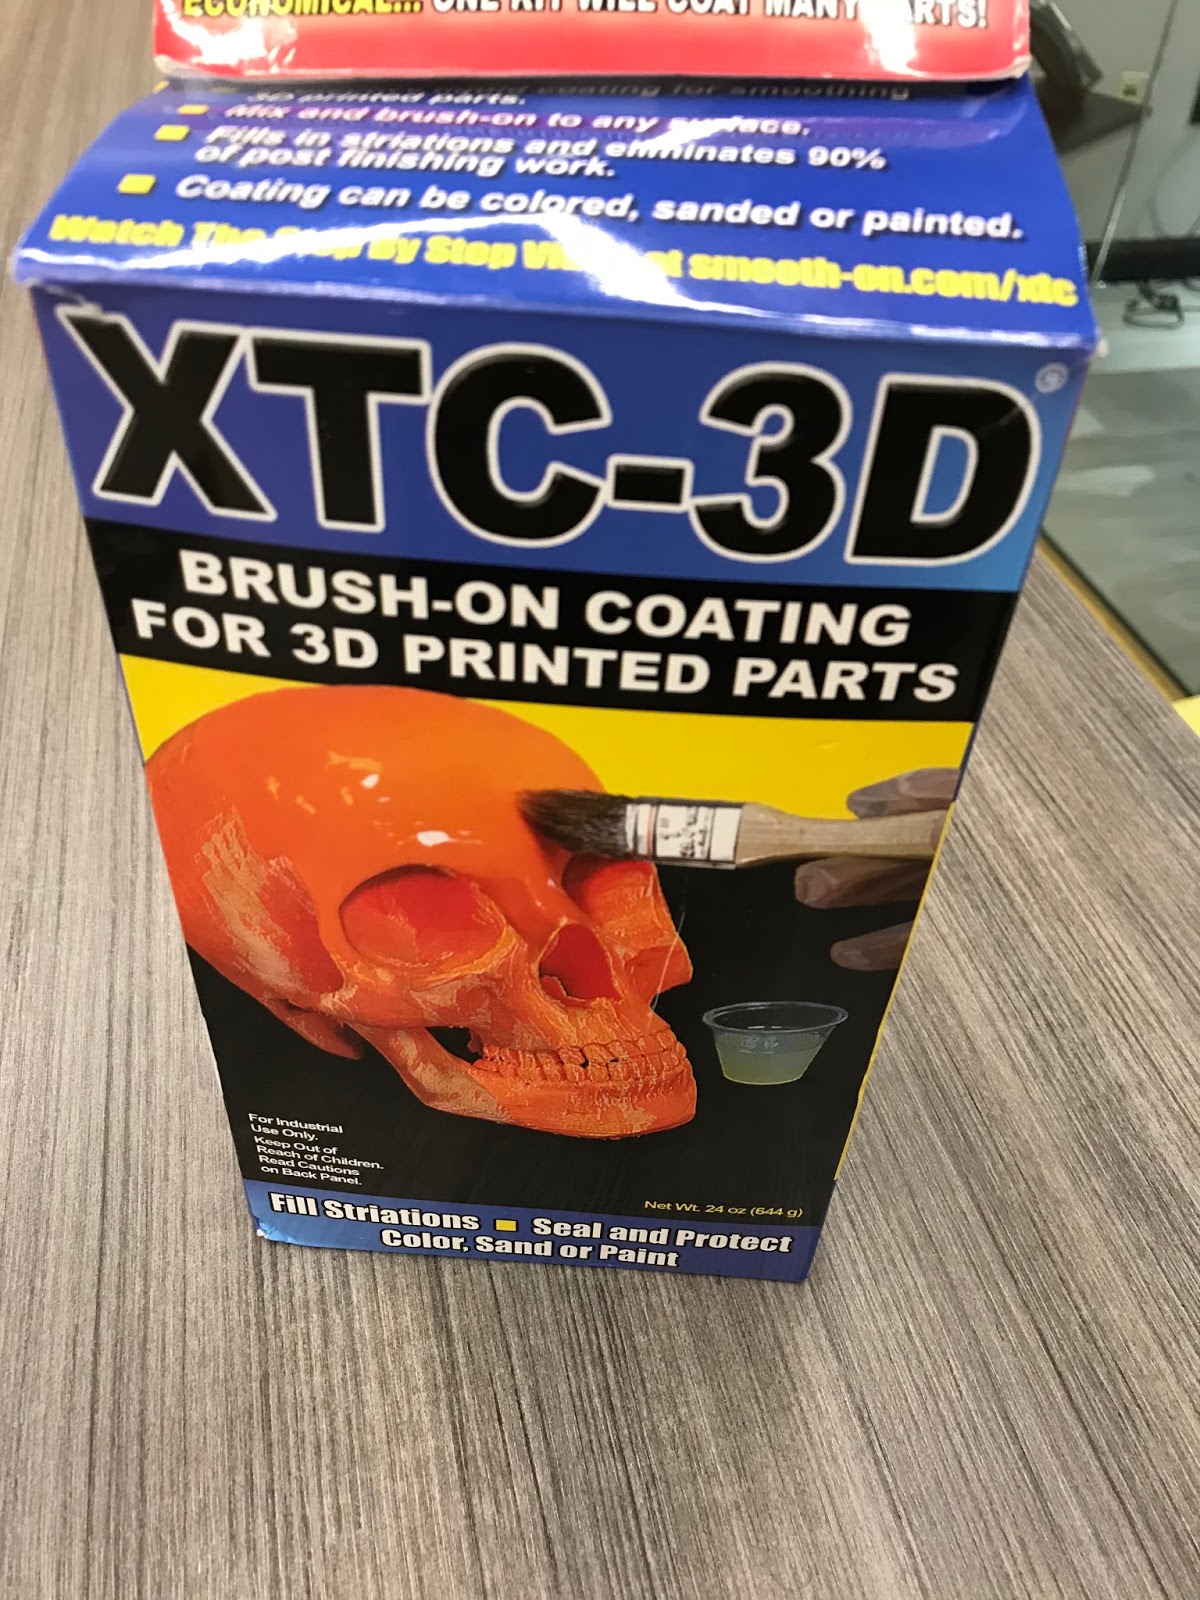
Figure 6: XTC-3D Coating

Figure 7: Puzzle Pieces with the Coating Applied
A Krylon primer, shown in figure 8, will be used to coat the pieces and prepare them for painting. This white primer will texture the pieces which will allow the paint to adhere easily.

Figure 8: Kyrlon White Primer
Comments
Post a Comment